Deployment Guide: GajShield-Firewall-VM with Pay-As-You-Go offer
Step 1
For the deployment of the GajShield-Firewall-VM on Azure with the Pay-As-You-Go offer, adhere to the outlined steps:
Navigate to the designated URL: https://azuremarketplace.microsoft.com/en-us/marketplace/apps/gajshieldinfotechindiapvtltd1693211201273.gajshield-ngfw-payg?tab=Overview.
Navigate to the GajShield-Azure page and commence the deployment process by choosing the 'Get it Now' option. Upon selection, an interface similar to the one below will be displayed.
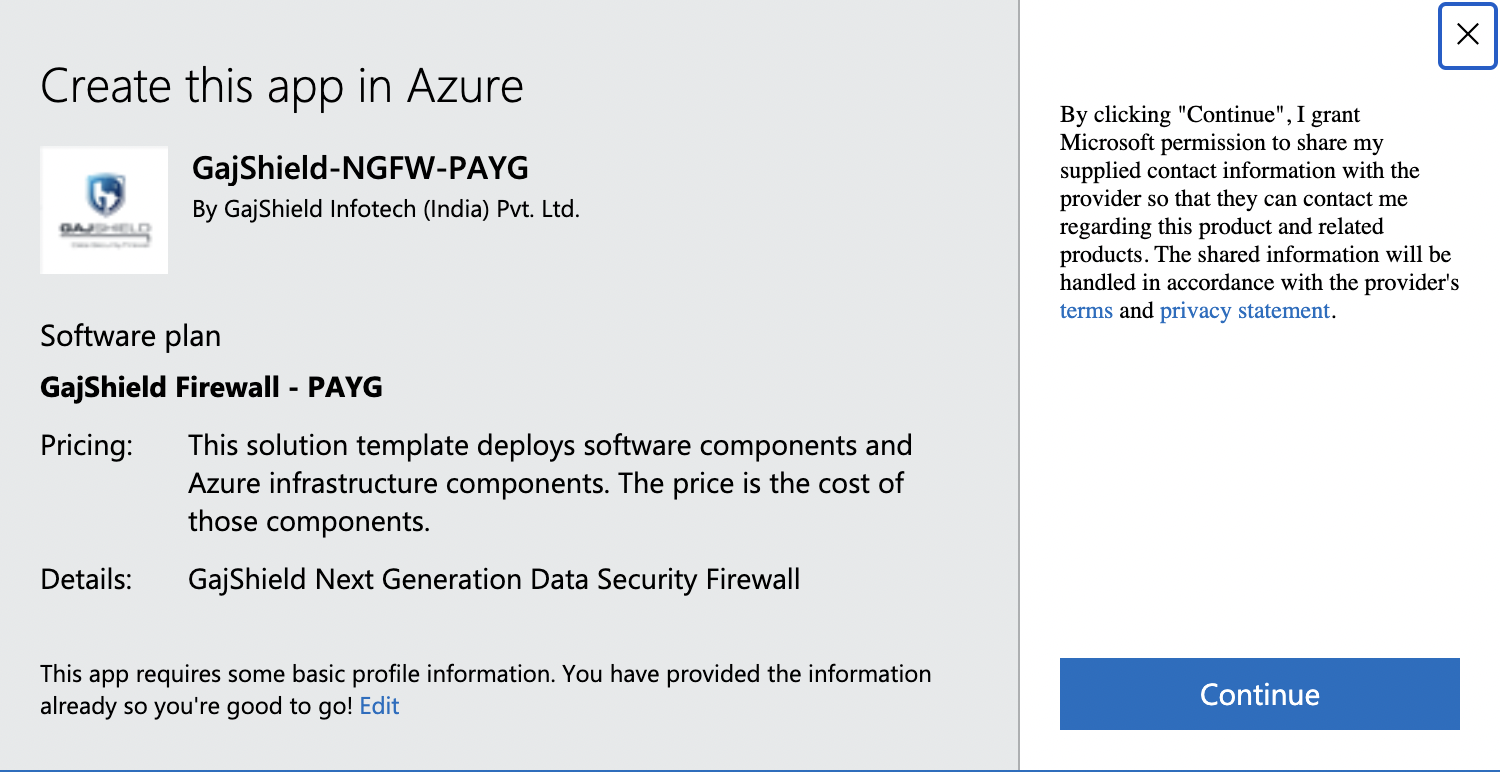
Proceed by selecting 'Continue.'
Navigate to the 'GajShield-NGFW-PAYG' interface within the Azure portal. Initiate the deployment process by selecting the 'Create' option.
Step 2
You will see the below screen in the 'Basics' Tab
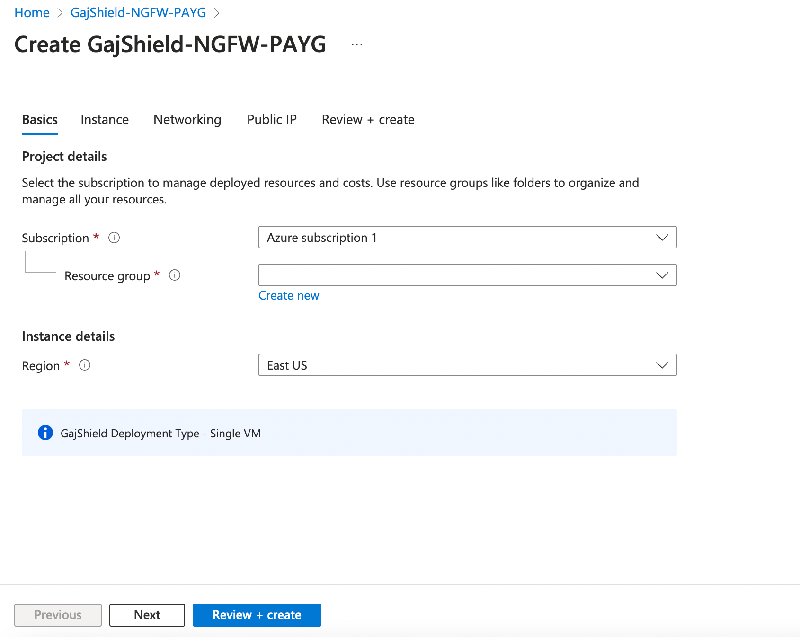
- Opt for the desired Subscription for VM deployment.
- Choose the designated Resource Group for VM deployment. If you intend to create a new Resource Group, click 'Create new.'
- Specify the region for VM deployment.
- Click on the 'Next' button
Step 3
You will see the below screen in the 'Instance' Tab
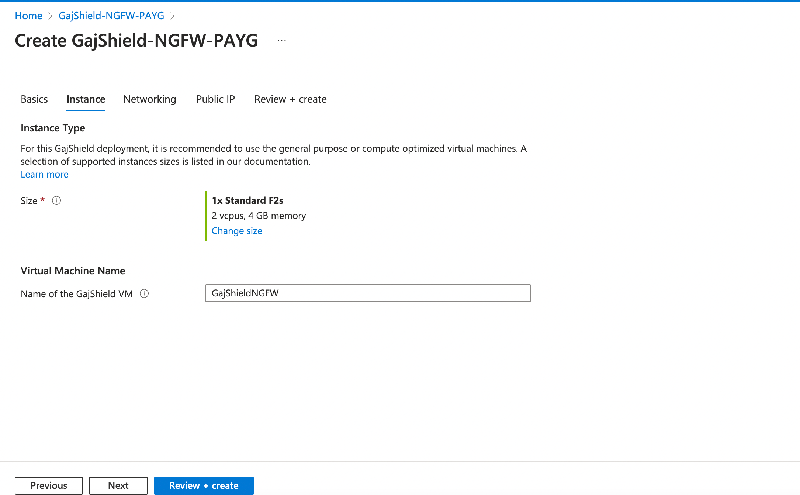
- Specify the instance type if a non-default instance is preferred.
- Customize the default 'GajShieldNGFW' GajShield VM name by modifying the entry under 'Virtual Machine Name'
- Click on the 'Next' button
Step 4
You will see the below screen in the 'Networking' Tab
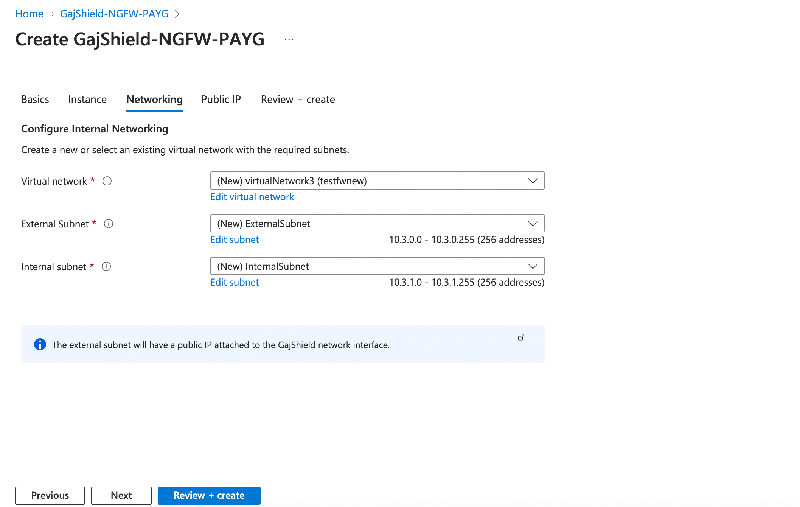
By default, new virtual networks and subnets will be created. If you prefer to utilize existing networks, you can specify them at this point. In case of uncertainty, it is recommended to proceed with the default values. Click on the 'Next' button
Step 5
You will see the below screen in the 'Public IP' Tab
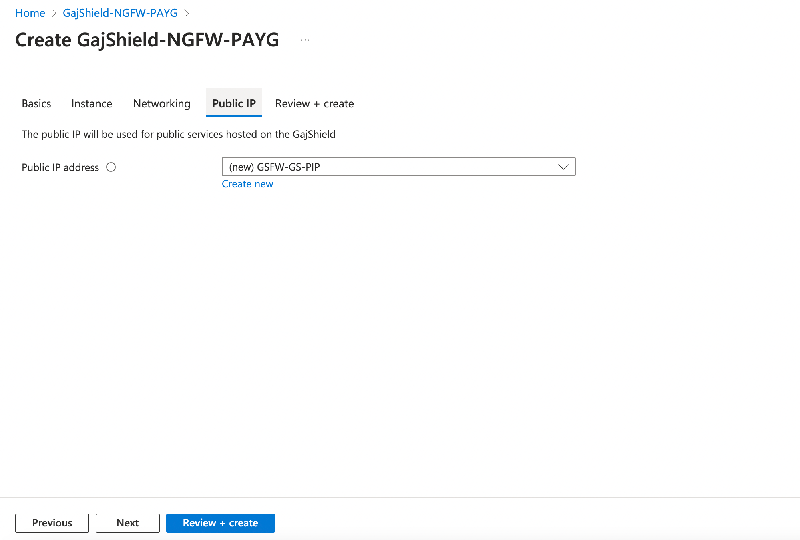
The default configuration employs a new Public IP. If you intend to utilize an existing one, you can make that selection in this section.
Complete
Upon completing the aforementioned configuration, navigate to 'Review + create.' Validate the details and proceed to 'Create' if everything is in order. Monitor the deployment progress post-application deployment. Following the successful creation of the GajShield Virtual Firewall, access the web administration console at https://<public ip of vm>/admin/
For further configuration of the firewall, do follow the Quick Setup Guide at https://kb.gajshield.com/kbarticle1?entryid=226